Follow the steps below to download, install, and configure the LS Estimated Delivery Date app on your Shopify store.
- Install the LS Estimated Delivery date app here.
- Once installed, configure the settings to start displaying estimated delivery dates on your product and checkout pages.
Configuring Estimated Delivery Date Settings
Configuring the Estimated Delivery Date widget is essential to ensure that your customers receive accurate delivery information, tailored to your specific shipping and delivery schedules.
1. Widget Placement
Select where you'd like the widget to appear on your site. You can enable it on both the product and checkout pages. Please note, that the Estimated Delivery Date for checkout is available only for Shopify Plus customers.

2. Warehouse Details
Provide the details of your warehouse(s) to ensure precise delivery date calculations. This helps us estimate shipping times based on the distance between your warehouse and the shopper’s location. You can list multiple warehouse locations, and our system will automatically choose the nearest one to calculate the delivery date.
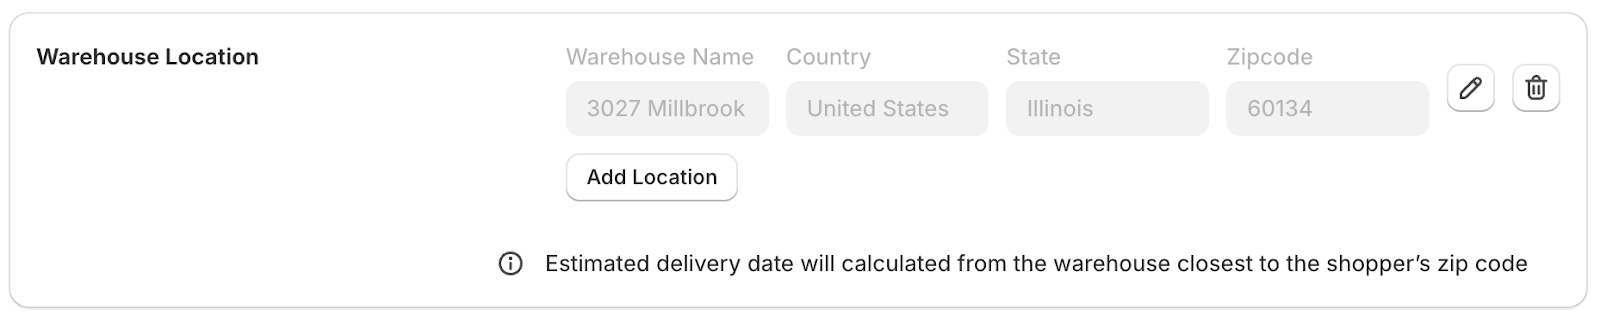
How to Add a Warehouse:
- Select Add Location.
- Enter the warehouse name.
- Choose the country and state where it's located.
- Enter the zip code.
- Click Save to confirm.
3. Carriers and Service Types:
Select the carriers and service types you use. This allows us to estimate delivery dates based on the transit times of the selected service type. If multiple service types are chosen, the estimated delivery date for each will be displayed.

When multiple service types are selected, the estimated delivery date for each service will be displayed separately.
4. Non-business days:
Select the days your business is non-operational (such as weekends or holidays).

5. Order cut-off time:
Enter the time deadline by which an order must be placed to be processed on the same day.
For orders placed after the cut-off time, the estimated delivery date will be calculated starting from the next business day.
6. Order Processing Time
Specify how many days it will take for your store to prepare and ship an order after it has been placed.
7. Serviceable Locations:
Specify the locations where your business can deliver. This ensures that the estimated delivery date is only shown to customers in serviceable areas. You can also select locations where delivery is unavailable and customize the message customers will see for those regions.
For example, you could include a message like:
"Unfortunately, we do not deliver to your location".

8. Estimated Delivery Date Format:
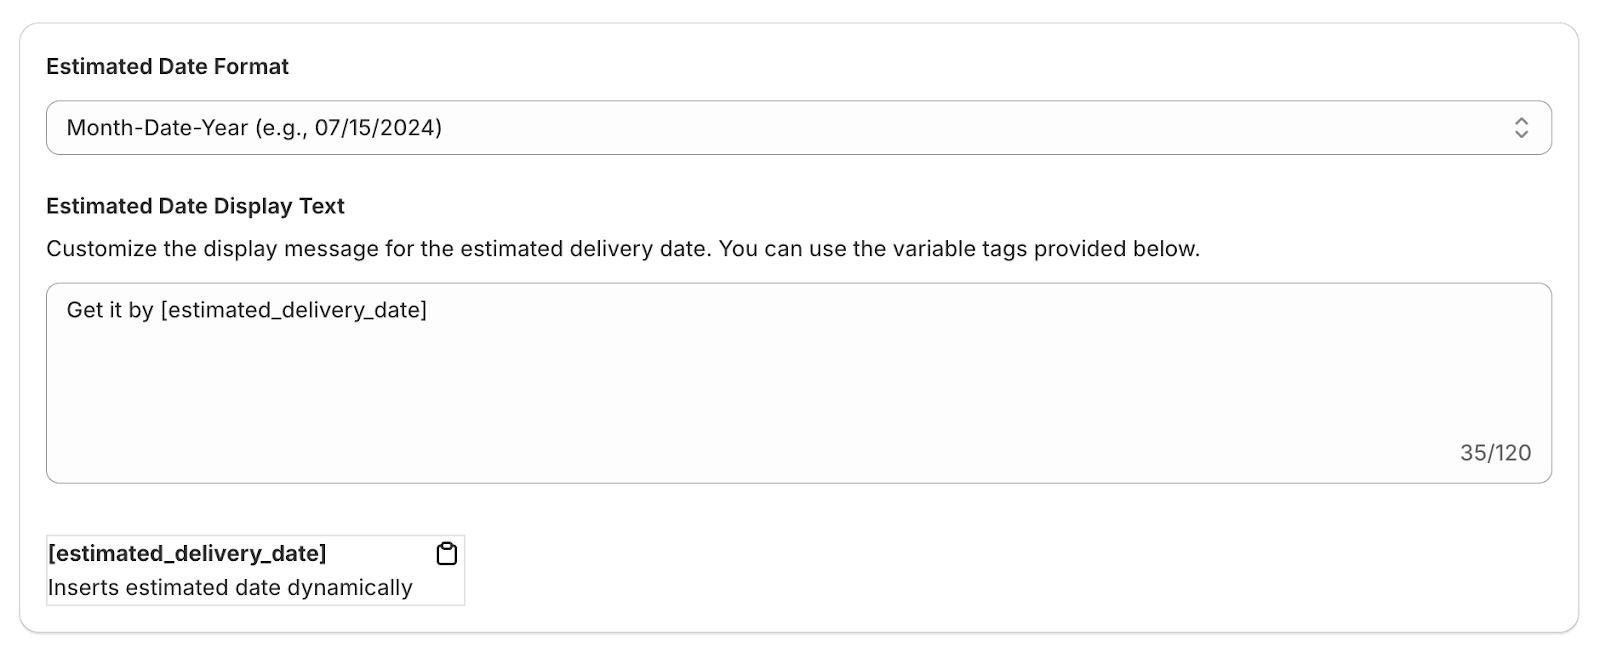
You can select the format in which the Estimated Delivery Date will be displayed in your Estimated Delivery Date (EDD) widget. This will show customers the anticipated delivery date for their order.
9. Estimated Date Display Text:
Personalize the customer-facing text in your Estimated Delivery Date (EDD) widget. You can use the tag [estimated_delivery_date] to dynamically display the estimated delivery date.
For instance,
Get it by [estimated_delivery_date]
Will display as:
Get it by Friday, 22 March
10. Order Countdown Timer Format:
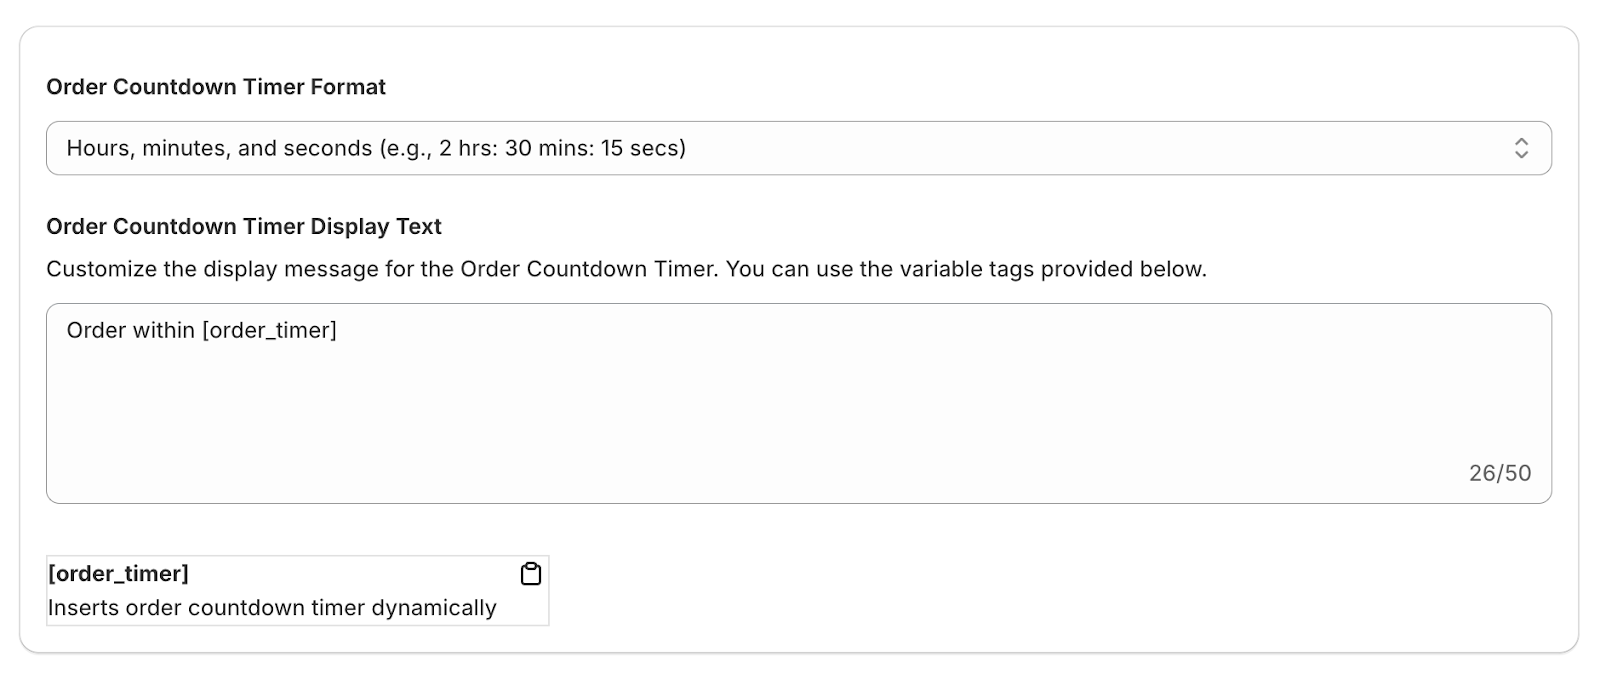
You can select the format in which the Order Countdown Timer will be displayed in your Estimated Delivery Date (EDD) widget. This timer shows customers how much time they have left to place their order for it to arrive by the estimated delivery date.
11. Order Countdown Timer Display Text:
Personalize the customer-facing text for the order countdown timer. You can use the tag [order_timer] to dynamically display the time.
For instance,
Order within [order_timer]
Will display as:
Order within 2 hours 45 minutes
Was this article helpful?
That’s Great!
Thank you for your feedback
Sorry! We couldn't be helpful
Thank you for your feedback
Feedback sent
We appreciate your effort and will try to fix the article